Friday, February 25, 2011

Nook Developments

I have been quite preoccupied with other things the past couple of weeks, though in my spare time I have continued plugging away at small projects refining the garden nook.  No great developments occurred, but there are a few relatively small refinements worth noting.
I suppose I can start at the top, literally and figuratively.  I recently added a great deal of reflective film within my garden nook, effectively halving the volume of the nook, and significantly reducing the area of light absorbing surfaces proximal to the lamp.  My primary reasoning behind this was that all of my plants were stretching, which can signify too little light.  I covered many of the bottles at the same height as the light with film first.  I unfortunately felt it necessary to block out the window, a substantial amount of light was pouring onto the sidewalk.  Consequently, people walking by no longer can see in.  And I finished the reflective film additions with lowering the 'ceiling' of the nook a little.  The effect that all of this extra film had (aside from utilizing more light) was that it made it very hot and humid, particularly at the top.  Unfortunately the lettuce in particular was getting droopy because of this.  So I thought it would be a good idea to put in some ventilation.  I was able to finagle a small fan on top of the tower, that sucks air from outside the nook in, and vents it out the bottom.
In this first picture, you can see how close the ceiling is to the top of the tower.  As well as the fan, which isn't as blocked as it looks from this angle.  And look at those lanky lettuces!

I also added more lighting within the nook.  The first addition was this 'medusa' lamp with five heads.  I have four ~20w CFLs in it, positioned as close as possible to the plants.


 I have also been doing a lot of reading into lighting, and have learned a great deal about LEDs.  My one continuing issue with them however is that manufacturers still seem to think the overhead fixture is an ideal lamp placement, and consequently replicate the design of fluorescent, or HID fixtures when designing LED fixtures.  I think you could get substantially more benefit from spreading the diodes around the hydroponic installment.  And since I don't really have time right now to construct my own ideal LED system, I thought that some LED light ropes may or may not have a benefit, and would be far more malleable in placement.  In the nearish future, I hope to get my hands on a spectroscope to measure the wavelength and intensity of the rope light, as well as absorption of light by various leaves, to really gauge how beneficial (or not) it is.
It is plugged into the fifth lamp socket, and is strung across the top of the Penta.
And then hangs down in front of the tri towers, where I am hoping to attempt to train my new bean plants which are in the proximal planter sites to grow up the LED rope.  
And this is the same scene where you can see foliage.

One huge development spurred out of me and my roommates frustration with how finicky the Penta system has been.  At six feet, I think it was just at the cusp of functional for the air lift.  Because of this, the slightest changes in the vertical tube, water level, or air pressure would stop it from pumping, and one of the columns rarely pumped at all.  From the beginning I had thought trimming the height would be more ideal, but never did for some reason or another.  Though a couple near droughts changed my opinion on that.  The issue in doing this is that we could not lower the tower, because the construction would require removal of all of the bottles, which are now carrying plants that have been trained up the ropes.  I had acquired a milk crate recently for another purpose, but my roommate made the astute observation that it was about the exact height we needed to remove from the Penta, and that it would support the weight of the reservoir.  So in a fury of work, we removed the reservoir and lift tube, cut 10 3/4" off the bottom of the tube, changed out the nutrient solution, and reassembled the system on top of a milk crate.  And for the past two days, all five columns have been sufficiently moist, top to bottom.  This has the added benefit of moving the FC plants closer to the light source.  I plan to add some reflective film to cover the reservoir and milk crate in the near future.


And lastly I have a couple of different angles of shots from the floor looking up at the towers which I think captures all of the plants.  Unfortunately (from a photo standpoint anyway) everything is getting so dense and overlapping it is hard to get decent pictures head-on.


And a piece of bad news, my portable tower has found the disadvantages of glass construction.  I stupidly put it on top of a milk crate, and it being unstable to begin with, fell over at some point, killing the plants I had growing, and spilling glass, water, and hydroton everywhere.  I fortunately have more bottles and will just be replacing the two broken ones.

Thursday, February 24, 2011

DWC Updates

You may remember my orange tree.  My, look how she has grown!

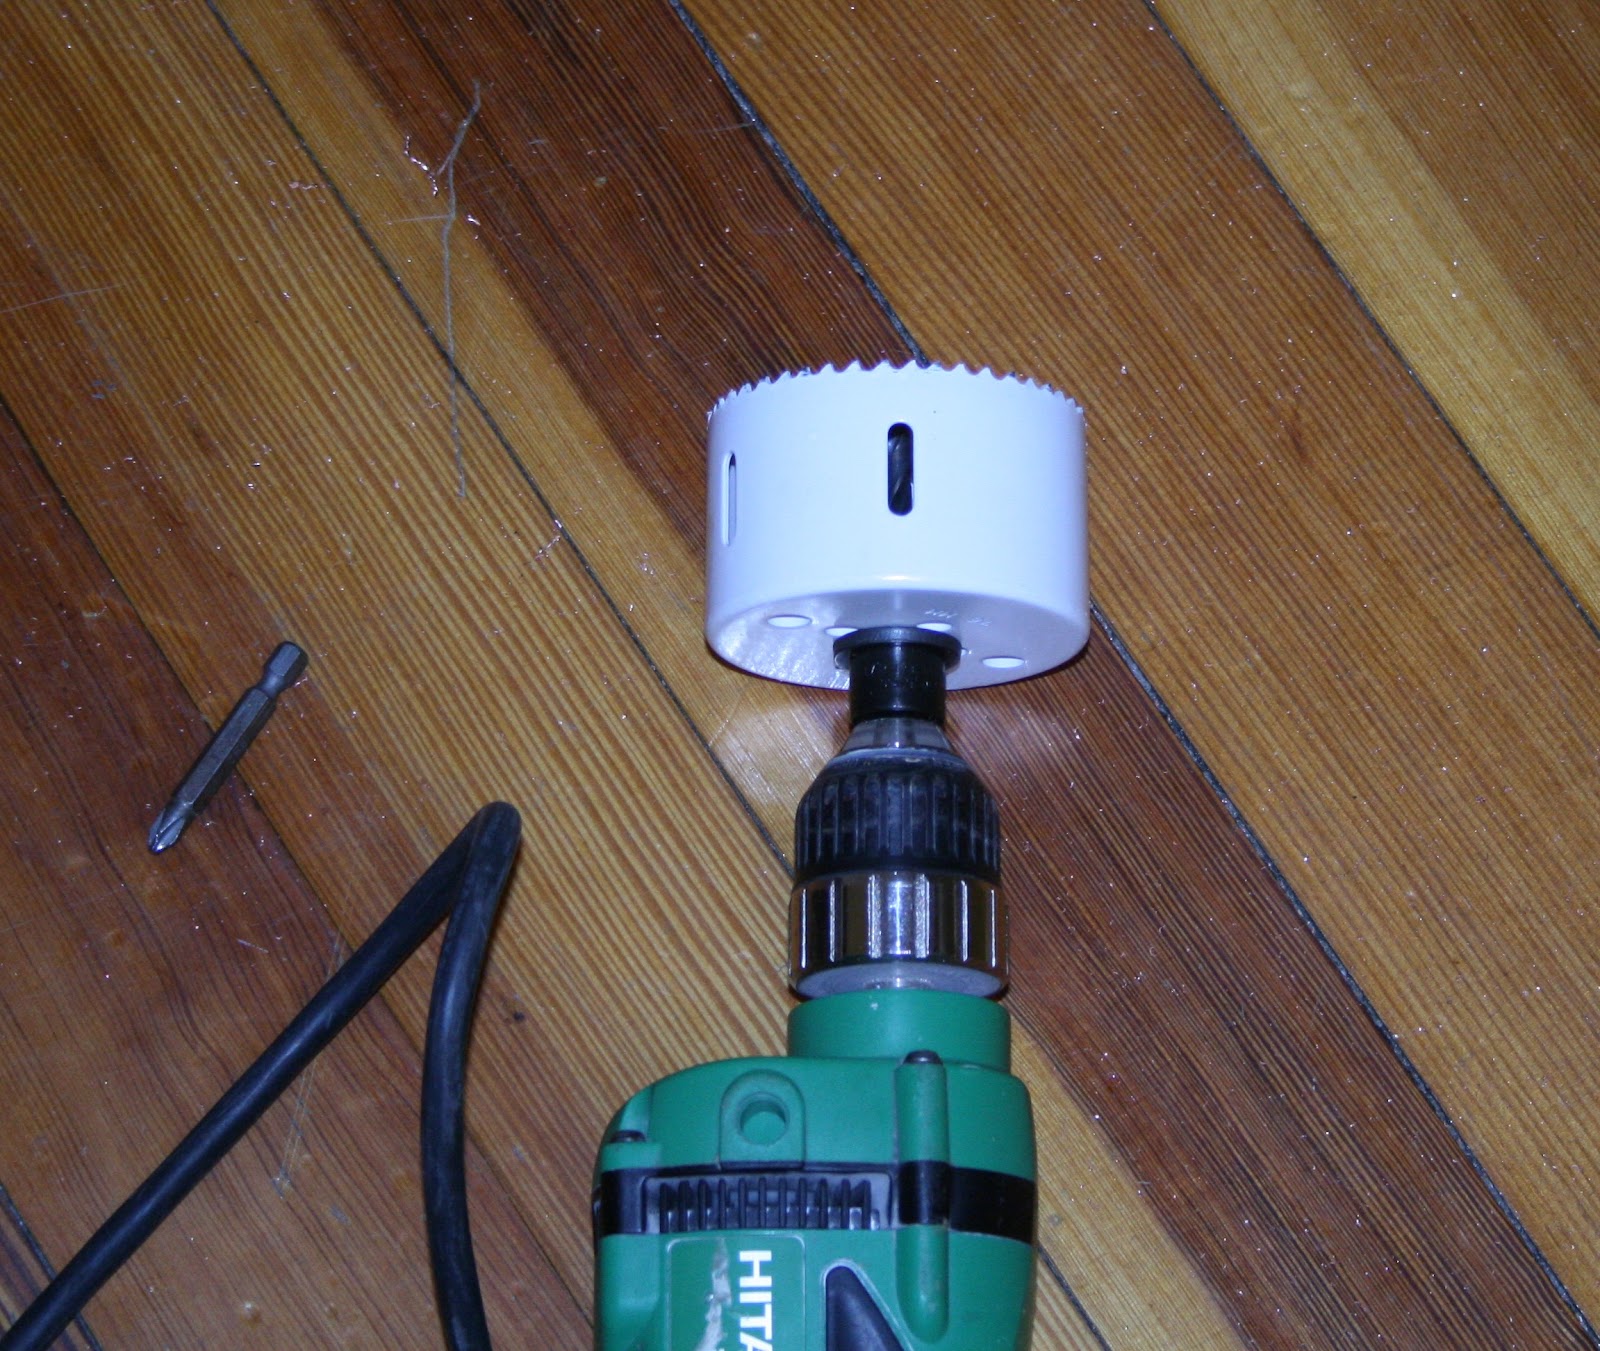
Ever since picking up my three inch hole saw, I have been a little out of control making new systems.  While this is certainly not the first, I think it is a nice little system.  I made this for my mother, who has been getting really into hydroponics since I recruited my parents to watch over my first vertical systems in the fall.  We all loved the pesto made from the hydroponic basil, so she planted some basil plants, and they were getting to the point where they needed an upgrade.  So this is what I threw together.  Standard five gallon bucket.  Four three-inch holes for net pots cut into the lid (three have basil, one has a pepper).  One 1 1/2" hole for filling, and checking the water level.  A two outlet aquarium pump feeding two bar air stones hangs on the handle.  The airline tube is attached to check valves which are rigidly mounted by airline attaching on the opposing side of the lid.  I have also weighed down the air stones with a couple of steel nuts.


 In terms of Windowfarms, this system could easily be outfitted as a reservoir for a vertical system by just drilling a hole in the top for a lift tube, and assembling a pump mechanism, such as the Low water level Pulser Pump.  With moving water, you could get away with a single air stone, using the second outlet for the lift tube.

Friday, February 11, 2011

Nook Updates

   I don't have anything ridiculously exciting to talk about, but the plants are growing quite well.  They are a little stretched out, but nothing too bad.  It is hard to see in the pictures, but the front-most bean is trained into a loop due to its expansive height (about a foot between the three main nodes!).  I am adding some more reflective film in order to cut down on light loss.  I may unfortunately have to block out the remaining open window space (A LOT of light spills out onto the street).  But I am going to lower the 'ceiling' and cover most of the bottles' surface area first, and will decide then.  
   One thing I do want to mention, DO NOT USE CHEESECLOTH in place of net pots, at least not only two layers.  I have been finding more and more of my most saturated columns' bottles with hydroton falling out of the neck.  Most jammed up quickly, so I just refilled them and left as is, but it still makes me uneasy.  I hope that the root systems will hold the media together after a point.  The first this happened to, I replanted in place of the eggplant in the fog culture, and they have bounced right back, in fact they are already much larger than the plants that remained in the bottles.  
   A note on fog culture, allow plants to get their first true leaves before transplanting them in.  As seedlings, they are so low to the 'ground' that they get well over-watered from excess fog spilling up.  I had two eggplant plants in the pot, they never grew, and they looked wrinkled and almost like they had mildew (they didn't but they had that sort of gross half-dead look to them).  Even after transplant, one of them died, and the other lost all of its seedling leaves, but luckily sprouted its first true leaf at the same time, and survived.  

View from the window direction, top tiers.
 Tier two, you can see me adding reflective film, to further
reduce light loss.

Tier three and four, and the remainder of the Tri-Towers.
TriTs are mostly unplanted, waiting for more sprouts.

That bamboo pole is the pole for my Trionfo Violetto pole bean, 
which has climbed it a little faster than I had hoped...

Shot from the 'door'.
Unfortunately blocked is the squash plant (to the left in the fog culture, at bottom), 
it has three splayed-fingered hand-sized leaves, and is very vigorous.

I may update this post with some more specific pics over the weekend, but for now,
Namaste, and Keep Farmin'

Thursday, February 10, 2011

Some More Sites

Here are a few sites, blogs, articles that I have found interesting and or useful along the way:

The Garden Pool - A video of this sent to me by the friend who turned me on to Windowfarms last year... if only I had a pool...
Garden Pool Blog - A lot of great videos and instructions all over this site, check it out!
BionicMelissa's Windowfarm Blog - She just started this blog, but she is off to a great start! Show her some love.
CO2 Enrichment Methods - Something I plan to get into when I have a more closed off space. Very in depth and to the point.
A NASA article on Hydroponics - Interesting...
Hotwired's Lighting Experiments and Design - He has been doing his own research into the spectrometry of different growing lamps, in order to make the most ideal lamp, great information if you are thinking about lighting.

I will continue to add to this as I find new sites, but these are a few I have returned to a bunch.

Friday, January 28, 2011

Penta-Tower in Full Swing

  So the school I am doing my student teaching at had a snow-day yesterday, but my biological clock being lined up with that schedule... I was able to get a lot done, including transplanting everything that was ready/ that I wanted into my newly functioning Penta-Tower!  I finally got it to work a couple of days ago, and had left it pumping since, to make sure it wasn't a fluke, and after three days it seemed consistent enough to plant in.  I filled 23 out of the 25 spots in the tower, because the two plants I had remaining are ones that I will likely need a little more space than the two remaining open planting sites.  I have taken a picture of each tier, though it may be difficult to see the plants, it is impossible to get around the sides and back of the tower.  So here are the pictures, I will list plants in each tier in clockwise starting with the back center plant (sorry they are crooked):

 Pea, [empty], Lettuce, Lettuce, Lettuce

Pea, Broccoli Rapini, Purple Basil, Basil, Basil

[empty], Broccoli, Edamame, Pencil Pod Bean, Pencil Pod Bean

Red Pepper, Eggplant, Red Pepper, Eggplant, Yellow Pepper

Armenian Burpless Cucumber, Roma Tomato, Bean Tavera, 
Lettuce, Edamame

And this is my portable tower, now a little more reliable and in full swing.
Lettuce
Straight Eight Cucumber
Basil

For more regular plantings updates, please visit myFolia.  
Namaste, and Keep Farmin'.

Wednesday, January 26, 2011

Fog Culture

The first type of hydroponics that I was ever really introduced to was the AeroGarden.  I never had one, but someone mentioned it to me somewhere along the lines, and that was the first time I started looking into hydroponics.  I didn't want to spend the money on an AeroGarden though, and couldn't think of a way to self-engineer one easily, and so shelved it altogether.  Time passed, I was turned onto Windowfarms, look back for the rest of that story, and now in my reading, and regained interest and aeroponics are again in the forefront of my mind for methods.  Though I have since learned A LOT more about things, and know that the spray nozzles used clog up very quickly, and are relatively expensive, and kind of a pain to set up.  So I started thinking about a similar but different way of doing the 'grow in air' method.  Eventually, I stumbled on a video that used a decorative pond nebulizer to create a nutrient fog.  Then a couple weeks ago when I was ordering books for the semester, I got side-tracked looking at these nebulizers, and finding them relatively inexpensive, I ordered one.  The only problems with it are: the thing used to float it at the right depth is plastic and styrofoam (but I am dealing because it is at least a plastic that shouldn't break down easily), and it has a bunch of blue LED lights on it (blue is the most useful color of the spectrum for plant and ALGAE growth, and roots are used to the dark).
So I had this thing, but the two problems kept me from using it, trying to wait until I came up with solutions to the problems.  Then my portable tower, which I had recently transplanted a cucumber and lettuce into, stopped pumping unexpectedly in the night.  So in the five minutes I had the next morning, I dropped the plants into the fogger, extremely wilted, on the edge of oblivion.  When I got home from school, hours later, the plants seemed like they had even grown a little bit!  So I said screw it for the time being, and decided to plant in my new Fog Culture set-up.  It has been running for a day now with four plants from my seedlings in it, and they look great.
So here are some pictures:
I used a paper bag to catch the copper debris, 
and a saw blade to push against.  This was a pain,
copper doesn't like saws because of it's malleability.
Traced a net pot with dry erase marker for the guide.

3" hole saw = much easier and faster than a hand saw.
 Clockwise from back center: eggplant (3), cantaloupe (2),
butternut squash (1), watermelon (3), and we had a mango 
last night, so I am trying to germinate the pit in #5.

The ominous glow from the side of the basin, oOoOoOOo

Thick, thick fog, hard to do justice with it open, and via photo.
You can see how bright that sucker is though!

So that is that, a new water culturing technique to think about and play with.  The plants seem to love it, I just added nutrients today, hopefully they will love it even more now!

The Penta-Tower is also now functioning in full swing.  I moved the Tri-Towers from my parents' house here, so they are ready to plant, or refurbish at any point.  With those came the pump that I had been using, which is a rather heavy duty fishtank pump, with a five outlet splitter with nice metal valves.  I was able to easily use that to pump the water as best as I have yet seen in the new tower, and it pumps down to 4 gallons (~1/2 capacity).  I also have the portable tower, and the diffuser running on the same pump.  Once I reintroduce the Tri-Towers, I hope to run them on that pump as well.  And I have begun transplanting into the Penta, I have the whole bottom tier full, but ran out of cheesecloth (instead of netpots), and figure I will wait until it is full of life to put up pictures.

Thursday, January 20, 2011

Continual Summer

In a 4' x 4' box that is.  I have made the final mechanical/ structural/ functional changes to my new Penta-Tower nook, and am honestly surprised that I got it pumping, it stands just shy of six feet tall.  I was fiddling with a new adjustable pump that I got just for the sake of getting this tower working simultaneously with my others halfway across the state, and no matter what I tried it didn't seem to work well, at best I would have the most proximal drip site to the lift tube pumping sporadically.  Then I figured I may try my other pumps, and with a magical little pump that I found in my basement from a long retired fresh water fish tank and had not ever thought would be the best one, it maintains a consistant and pretty hearty drip rate for all five drip sites.  It is hard to gauge if it will be sufficient for the number of plants I will have, but I plan to arrange the plants from least thirsty to most thirsty descending from the top.
I have also upgraded my lighting.  I had planned on using these old industrial 150w HPS lamps that we had lying around my house from years ago.  And as I got one working, I stumbled across a much better option at my local hydroponic store Green Path Garden Supply, it was a 150w HPS as well, but a whole unit, including a reflector hood, contained ballast, and a more attuned bulb for growing with.  It also outputs 1600 more lumens than the ones I had, and had the benefit of not being 20 years old.  I have since learned a bunch more specific information about lighting, and think that this will likely be the last HPS I buy, aiming for a well attuned LED assortment next, but I will likely learn how to wire one up myself to achieve the best output for the plant use, and that'll take a little time.  Though I certainly do not regret getting this lamp, it is like having my own personal summer in the middle of this unfortunate New England winter, I have even started to get a tan just from working on the tower in the nook.  Some of the wattage may be a waste on the plants, but my health is the overarching aim, and I certainly feel much better than I normally do at this time of the year.
Anyways, I have a bunch of pictures:
What I came up with for a reservoir, like 1.5' tall.
The three beads below handles mark approx. 4, 5, and 6 gallons
surprisingly well.  It pumps with 4.5 g and up (that I have tested).
The lid is just a piece of copper that I had left over from something
that fit perfectly with some trimming.
 This is what I came up with for the airlift using natural materials,
I have actually replaced this tube with a more evenly curved piece of copper.
 Using my diffuser, and a 3/4" tall base cut from a beer bottle, I steady the needle.
I have punched a hole in the lid for the tube, and plan to cut 5 DWC sites in a
star formation around for better water reclamation.
 I do not yet have the time or materials to get the glass drip ring working,
so I fashioned one instead with copper, and a brass fitting
 The standing set-up (sorry this is the best I can do for a 'full' shot)
And that is the magic pump on the right.
 A perfect nook for my portable farm right next to the window, on the sill.
And all of my sprouting little plants!
 My best aerial shot to show everything in the nook.  HPS mounted on right, facing the tower with a couple feet of clearance.  Orange tree DWC just under the lamp.  

The view for passers-by!

I had initially planned on placing my large vine plants (cucumbers, butternut, watermelon, cantaloupe) in the DWC sites that I will be drilling in the lid, but fear that when they fruit they would slurp up all of the water and cause it to stop dripping, so I will be putting those in the bottom most drip sites instead.  If I can get some strawberries, I may put those down below.  For specifics on what I am growing and growing progress please visit MyFolia.  And as always please visit Windowfarms.org, and, our.Windowfarms.org, and join in on the building R&D-I-Y community over there!