Monday, December 27, 2010

My Portable WindowFarm

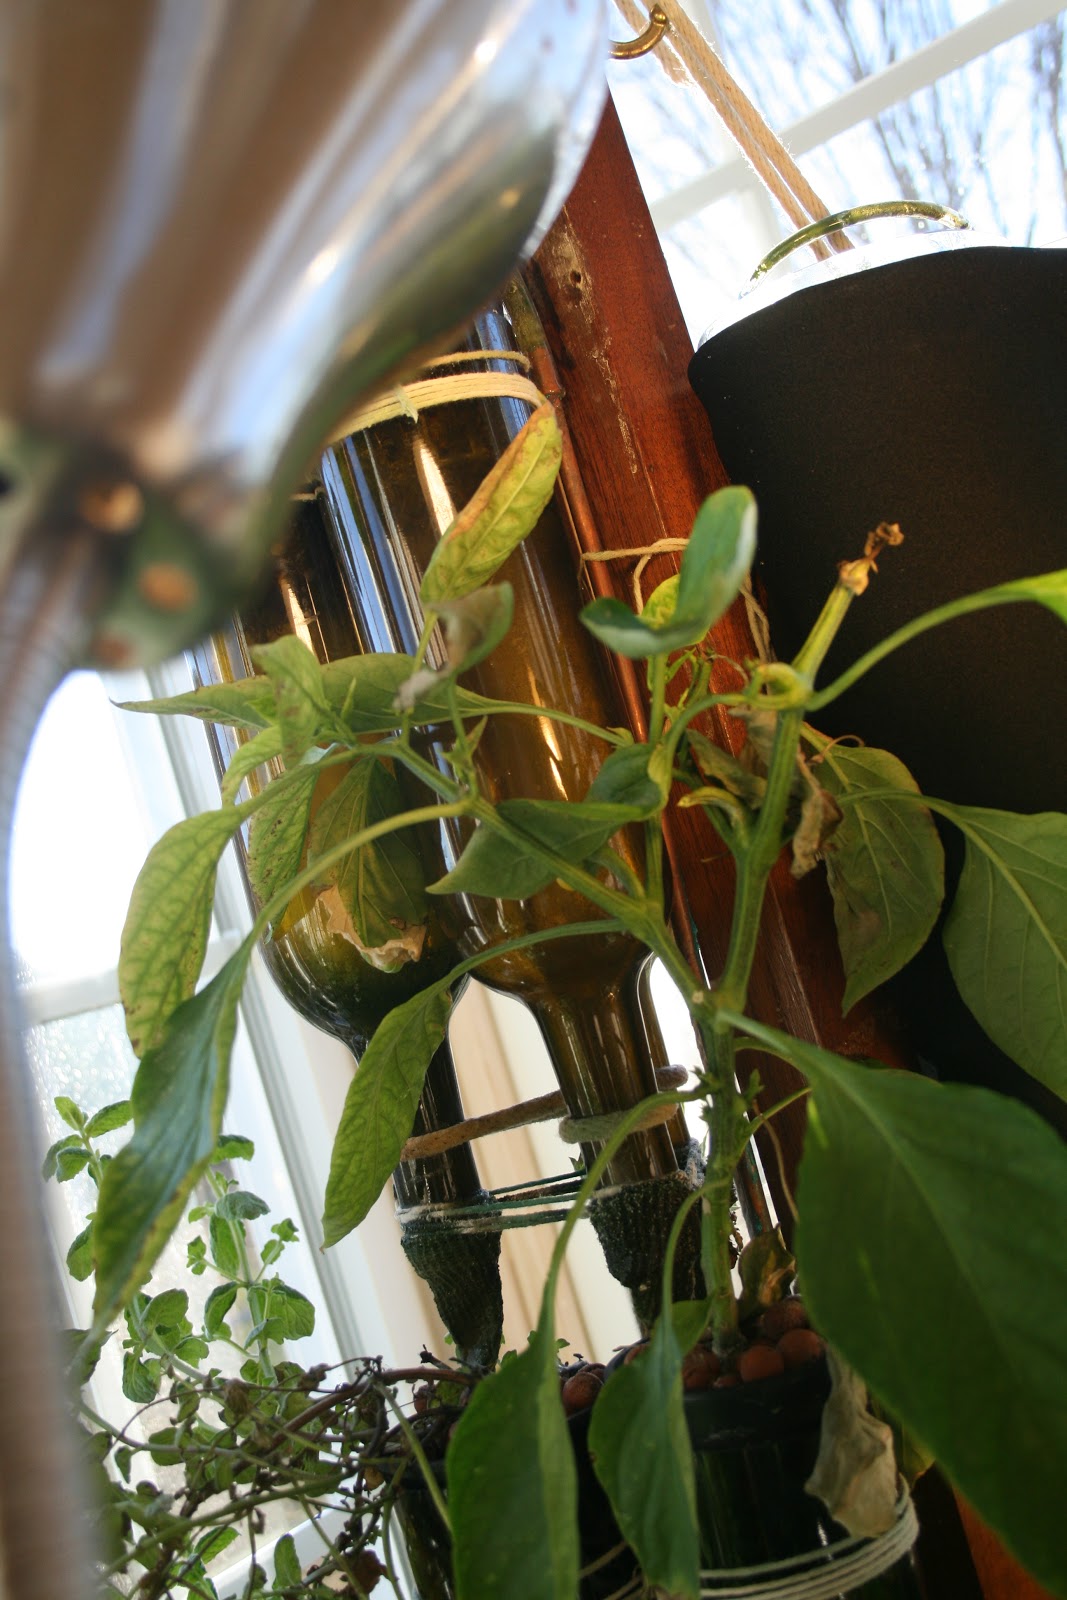
So after some thinking, some scavenging, and a little tinkering, I have completed the portable farm that I had mentioned in my previous post.  I have simplified the design quite a bit, and the proportions have changed some.  It stands a little taller than I had planned, at around four feet.  And the base is substantially smaller, currently at about four inches (I may add a small wooden base to make it a little sturdier).  The other major changes came in the reservoir, and in my suspension system.
When looking through the materials, I quickly realized that the size and construction of these posts from a previous project would work perfectly without modification.  When actually looking at the pipe, four feet seemed like the perfect length to fit a couple bottles with an adequately deep reservoir.  And even better than the size, the construction gave me an easy way to mount the system.
As a previous assembly, I had drilled two holes for a bolt in the top elbow bracket, which I thought was spaced perfectly for a single tower of beer bottles:
Also, the base has a fitting attached that allows it to screw into this mounting bracket:
After a little more scrounging through my cast-aside bottles and materials, I found a few bottles that seemed to fill the height very evenly (1 half length beer bottle, 2 full length beer bottles, and a full length wine bottle):
Once I had all of the major pieces in one place, I started thinking about the construction. Specifically, what would be easiest for transport, use, and explanation, while maintaining a very clean and neat appearance.  And this is what I came up with:
For the sake of explanation of the basic elements of a windowfarm, I used the same pumping mechanism.  It is a little hard to see, but out of the cork there is an inflation needle running into a copper lift tube.  Just below the photo is a check valve:
With a friends' help, I drilled an oblong hole through which I intended to run the lift tube.  It is a snug fit, and has the added bonus of fixing the reservoir bottle to the pipe, preventing excessive swinging of all bottles.  It looks like this:
On the top, I used the only plastic of the whole system in a small three inch piece of airline tubing to make the U bend in the lift tube.  I also drilled a 1/4 inch hole in the elbow to run this tubing through, guiding into the bottle:
The last change in my design came in my suspension system.  Rather than fixedly mounting the bottles in the tower, like my other farms, and previous designs.  I thought to hang the bottles using S hooks, a pair on the bottle, and a pair attached to the suspension ropes.  Around the bottle I tied simple nets that distribute the weight to the neck, but hang from the highest point, maintaining a low center of gravity.  These are easily removed for any reason:
And this includes the reservoir!  Finally I am able to flush the system regularly without hassle.  It is a little tighter, because the way the suspension works, pressure is applied on the ropes by the lift tube pushing down on the bottle, so with a full bottle, it takes some finagling.  But here is a video to show how easily it can be done still:
The final touches for this system will include the purely aesthetic addition of an endcap to cover the open elbow at the top, a potential horizontal carrying case for the bottles, and possibly switching to cheesecloth bags instead of net pots.  We plan to plant possibly mint, stevia, and basil in the system, keeping them all relatively trimmed and small.  Also, I was looking for some thoughts or recommendations on how to pump this system using DC power, like in a battery.  I want this to be as self-contained, and function-anywhere as possible, so any recommendations would be much appreciated!

Sunday, December 5, 2010

Some Thoughts

Here at my school, we have a day where we are able to present projects that we have been working on.  People can bring in a trifold and set it up, displaying their work in a gallery style.  It got me thinking about how to miniaturize my system, so that I would be able to bring a model to events where I could promote the great work people have been doing.  Especially after missing an urban agriculture festival in the area.  So, I thought of this yesterday and drafted it out.  It is pretty rough, and the proportions are off, but it gets the job done.
For scale, the large piping will be 2" copper pipe (I have some laying around from an old project).  The bottles will be half length beer bottles.  I will tie it with two pieces of rope attaching to a handcrafted net of sorts around the bottles.  Within the 2"tubing, I will run my standard 1/4" copper lift tube, which will use an equivalent airlift mechanism to my other systems.  And while I drew the arm relatively lengthy, I actually plan on there being almost no distance between the two elbows.  I want the whole system to be under two feet high, be rigidly constructed, and easily transportable (continuing function, no spillage).  
Pardon the epic perspective.

I also want to start to do a little experimentation.  Since I have established a few farms, and have a base line, I want to start attempting alternative options in media, and method of hydration/feeding/aeration.  Whether I do this with an existing farm, or power out a third tower during my class break, I have yet to decide.  My design is that in a similarly constructed modular tower, I will have only one column that is a drip system.  My second column will be DWC.  The third column will be an electric free column; the bottles will be filled with a mixture of expanded clay and sand, and will be hand watered every couple of days (hoping the sand will help retain moisture).  Or, each level may be the various systems (i.e tier 1 DWC, tier 3 drip, etc.).  I'm not sure which to go with, I figure with columns the DWC will make it tilt, and with tiers it's hard to figure out the right configuration.  I plan to have three types of plants, with three of each.  One of each plant will go in each type of system; similar plants will compare the systems' efficacy.  I am thinking one will be lettuce, one a fruiting plant, and the third basil; this way I have a comparison between systems and types of plants.
If I am feeling really scientific (and it is still winter when I do this), I may even put it in a darker area, and put the system completely on controlled lighting in order to expedite consistent growth, so I can really have something to compare.  Just in the planning stages, thought I could put it out, see if anyone has feedback that I may use to guide my design.  I will keep thinking, and keep posting as I progress with everything.
Namaste and Keep Farmin'

Friday, December 3, 2010

Jalapeños and Some Dirty Tomatoes

I promise that this is it of the digital leftovers of my turkey day break, haha.
As I said a couple posts back, the two towers are getting separated out on here due to their upcoming physical separation.  This post is on Tower One, or the tower that I buit for my parents, and that will stay in it's current location (with any luck I can get my parents to actually put up growth updates come January).  And so with the theme of my parents caregiving, I have decided to give a shout-out to my dad's tomatoes which bested my tomato in our Hydro v. Soil competition.
So here they are!:

 Baby Toms!
As far as the WindowFarm, there are some bits of exciting news, but unfortunately due to the lack of sprouted seeds, there is only one new addition, an eggplant that is on the front side which I didn't photograph.  If you want a visual though, the eggplants in Tower Two are exactly the same.  All else gets picture:
Jalapeños!
 The other one, not doing so hot..
 Minty is coming back after being smothered by the tomato.
Basil down below, ready to retire.
 Bell pepper, surviving, but not thriving.
On a developmental note, since all of these changes, we have had some leakage issues.  And because of it my Dad is pushing for more DWC, possibly converting the whole tower by corking each bottle.  My concerns would be weight, and the need for twice as many airstones.  

Monday, November 29, 2010

Deep Water Culture

While WindowFarms are a very efficient use of vertical space (the reason for their explosive popularity), they are not the only method of growing plants hydroponically.  There are actually a very large variety of different systems, each of which has it's own benefits and difficulties.  I will not pretend to be any expert on all hydroponic systems, but there are a few that interest me, and I have experience with.  My favorite of the alternatives to a vertical drip system is called Deep Water Culture, or DWC for short.  It is my favorite because it has the simplest construction, and has some of the best results.  Essentially it is just a reservoir; you have to mount net pots to hang into the solution, and aerate the water substantially.  The aeration is necessary for root growth, which uses oxygen, and the more the better (it also has the benefit of preventing anaerobic bacterial growth).  My system is a two gallon bucket (unfortunately plastic, but I am working with what I have laying around, I plan to transfer to ceramic or glass once I have the means).  I have two of the five outlets from my airpump running large airstones that I do my best to keep submerged under the root system (I plan to weigh them down with gravel at some point).  The top is a makeshift lid in which I have cut a to rest the four inch net pot in.   Currently I only have one plant (red cabbage) in my DWC, but it is doing fantastic, definitely the best of all of my plants.
Some pictures:
Approx. twelve inches across, for reference.
 Look at those roots!
 Be careful of the airstones, they like to float, 
it is ideal to keep them under the root system.
I am currently thinking about a way to potentially have the plants float on top of the solution, so that the reservoir does not need to be refilled as often.  And I continually attempt to integrate a DWC system into the reservoir of a vertical drip system.  I hope to actually do this with my Tower Two, which is assembled to support such a system, but I am waiting until after I move the system to attempt it.  But in any alternative system, replacing the reservoir with a larger volume, that has space for at least one net pot, and introducing an airstone into it is a way to utilize the most out of your system.

Tower Two is Back!

With the recent holiday, I was finally able to do a little more work on mine and my parents' farms. Coming up in January I will be moving into an apartment, and reinstated this farm to bring with me, with the hope that it will be producing or at least established by move-in time. Because of this, I am going to be posting separate posts for the separate systems. The tower here is the one I will be taking, and is the inverted pyramid design (look back for a full view without plants). The major modifications that I have made to this to get it working again related to the pumping mechanism. I removed the cork from inside of the bottle, replaced the needle, and reconstructed it with the check valve outside of the bottle. I then inserted the cork int the mouth of the bottle, rather than from inside the bottle. The function of all of this was to get the pump to work more efficiently and consistently. Previously the water would stop pumping if the water level dropped minimally, due to the height of the needle within the bottle. The needle lowered 3-4", now it hardly needs any water to work. This is the same construction as Caroline's farm, pictured in the post below. I also unclogged the T junction at the top which had built up algae causing a pump malfunction. And I covered the top (clear) bottles with black fabric to block out sunlight, and prevent algae growth. And a new innovation I thought of when working on Caroline's farm that isn't pictured, but I added last minute was wrapping the holes on the drip ring with cotton fabric to prevent it from spraying off in every direction and causing water loss.
We had planted a boat load of seeds a couple of weeks ago, but unfortunately most of them didn't sprout! So I filled my farm with what did sprout, and we will be planting some more soon to fill out my parents farm.
Here are some pictures:
My two peas (in front), and two eggplant (in back).
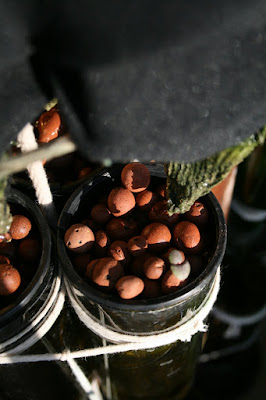
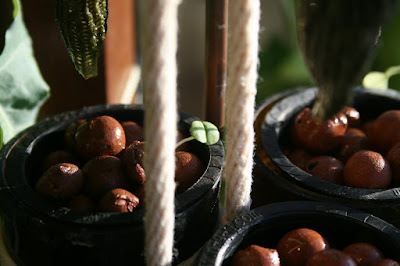
The left bottle is full of hydroton, but no plants due to the upcoming move.
Purple basil
My three bush beans
My green basil plant.
A bunch of lanky lettuce seedings
The new neck set-up

Friday, November 12, 2010

Planter Changes

The last couple of weeks haven't been too great on my plants and consequently, a few of them have suffered. With the transfer back to a single system, I caused a little too much stress to some of my plants. The DWC strawberry suffered the worst, it never really established new roots after my multiple transplants, and it eventually developed spider mites. And then I caused even more stress trying to get rid of the mites, and now, well, it's spot has been filled with big cabbage from our garden that we decided wouldn't get to producing in time before winter. Also, we had a some issues with the needle on the pump clogging with sediment from the nutrients, so the plants had a few instances of dehydration, the tomato in all of it's colossal glory was hit hardest, browning at the extremities. And then I noticed last time I was home that it had acquired the mites from the strawberry, so extensively that we decided it best to remove it to save the younger, more fruitful plants, and my dad's soil tomatoes (I guess he will be winning our soil v. hydro tomato competition this time around, haha). And while the size and stability of the plants was impressive for the longest time, it did use an unnerving quantity of water, and being at the top of the tower, we were unable to have anything under it, for fear of drought. And the way I had contorted it to be supported it nearly blanketed the tower on all sides.
So, goodbye tomato, you were my first, and you put in a good run. But hey, on the plus side, your roots look really cool out of the bottle!

Along with the tomato, the basil has seen better days. After the most recent cropping, it isn't quite bouncing back like it had, being a little light choked from the tomato's dangling. So we are planning on removing that as well.
On the plus side, all three assorted peppers are doing good! The bell is ripe, albeit the fruit is a little small, but the plant is on the inner side of the tower, and the tomato was being a little fascist with the resources. And the jalapeños are hanging in there, they got some slight spider mites, but they are small enough we could fix it. They are flowering like it's their job though, and now that the sun has sank on the horizon, they will hopefully get the light they deserve and produce some full fruit (they were starting to fruit when I was there).

In other news, I have brought the other farm back into serviceable condition (the needle had clogged with sediment, so I replaced it with a fresh one)! And will be getting it going soon. We have seedlings popping up every day now, a wide assortment of things, including replacement basil (green and purple), lettuce, peas, green beans, eggplant, and even watermelon! I had planned on setting the farm up in my dorm room, but realize that that would just be a lot of work for no good reason, because my window gets iffy light for a couple hours in the morning right now. So I am establishing the farm at home over the next couple months, and will be bringing it with me to my new apartment in January. I will finally have a kitchen to cook and minimal time to work due to my full time student teaching, so I will be supplementing mine and my roommates grocery list with some fresh, all organic, really local veggies.
Also, in the next week or so I will be helping my friend (whom exposed me to the WindowFarms Project through a youtube video she had StumbledUpon) get a farm going in her apartment! We assembled the system weeks ago, same construction as the farm from the "My Newest WindowFarm" post. Modification is primarily that the needle is inserted from the mouth of the bottle rather than how I did it initially, so there won't be pumping issues. Otherwise it is the same. We had the bottles pre-cut, some left over from my prior incarnations, we chose nine of the twelve to use. From sanding edges smooth to hanging the system, the whole process took approximately 4-5 hours with two sets of hands. Due to school distractions and workload, as well as being in the city in the winter, it took a little bit of time for her to find seeds and then germination took an awkwardly long time to happen, but as of seeing her last they had started popping up and as soon as I have more than five minutes free outside of work, class, and projects I am going to help them get the seedlings into the system. I made her a collaborator on this blog too, so hopefully once the whole thing is established she will add some posts of her escapades.

So keep posted, between the changes in the farm I built for my parents, the reincarnation of my farm, the development of my friend's farm, and some ideas that have been jostling around my noggin during this month of work overload, there will be some more busyness for all of you wonderful readers out there to put on your palette in the coming weeks.

And please, if you guys have any input at all, comments, critiques, suggestions, requests, anything at all, do not hesitate to comment on the posts. The biggest innovations always come from multiple points of view, and my farm has only become what it is because of my friends' and family's idea bouncing, and the wonderful information and discussions on our.windowfarms.org. So, any input will be thoroughly taken to heart.

Namaste, and Keep Farmin'

Monday, November 8, 2010

Copper Lift Tube

This is an aspect that I never even mentioned because it is really quite easy, but I figure some people may hear copper and think that you need special tools. You don't though, just a hacksaw, or tube cutter. As far as straightening, you only need your hands:


It is really that easy, take it a little slower if you have never handled copper tube before, and be gentle so as to not kink, but it isn't any ordeal.