When looking through the materials, I quickly realized that the size and construction of these posts from a previous project would work perfectly without modification. When actually looking at the pipe, four feet seemed like the perfect length to fit a couple bottles with an adequately deep reservoir. And even better than the size, the construction gave me an easy way to mount the system.
As a previous assembly, I had drilled two holes for a bolt in the top elbow bracket, which I thought was spaced perfectly for a single tower of beer bottles:

Also, the base has a fitting attached that allows it to screw into this mounting bracket:

After a little more scrounging through my cast-aside bottles and materials, I found a few bottles that seemed to fill the height very evenly (1 half length beer bottle, 2 full length beer bottles, and a full length wine bottle):
 Once I had all of the major pieces in one place, I started thinking about the construction. Specifically, what would be easiest for transport, use, and explanation, while maintaining a very clean and neat appearance. And this is what I came up with:
 For the sake of explanation of the basic elements of a windowfarm, I used the same pumping mechanism. It is a little hard to see, but out of the cork there is an inflation needle running into a copper lift tube. Just below the photo is a check valve:

 On the top, I used the only plastic of the whole system in a small three inch piece of airline tubing to make the U bend in the lift tube. I also drilled a 1/4 inch hole in the elbow to run this tubing through, guiding into the bottle:


 And this includes the reservoir! Finally I am able to flush the system regularly without hassle. It is a little tighter, because the way the suspension works, pressure is applied on the ropes by the lift tube pushing down on the bottle, so with a full bottle, it takes some finagling. But here is a video to show how easily it can be done still:
The final touches for this system will include the purely aesthetic addition of an endcap to cover the open elbow at the top, a potential horizontal carrying case for the bottles, and possibly switching to cheesecloth bags instead of net pots. We plan to plant possibly mint, stevia, and basil in the system, keeping them all relatively trimmed and small. Also, I was looking for some thoughts or recommendations on how to pump this system using DC power, like in a battery. I want this to be as self-contained, and function-anywhere as possible, so any recommendations would be much appreciated!


With a friends' help, I drilled an oblong hole through which I intended to run the lift tube. It is a snug fit, and has the added bonus of fixing the reservoir bottle to the pipe, preventing excessive swinging of all bottles. It looks like this:


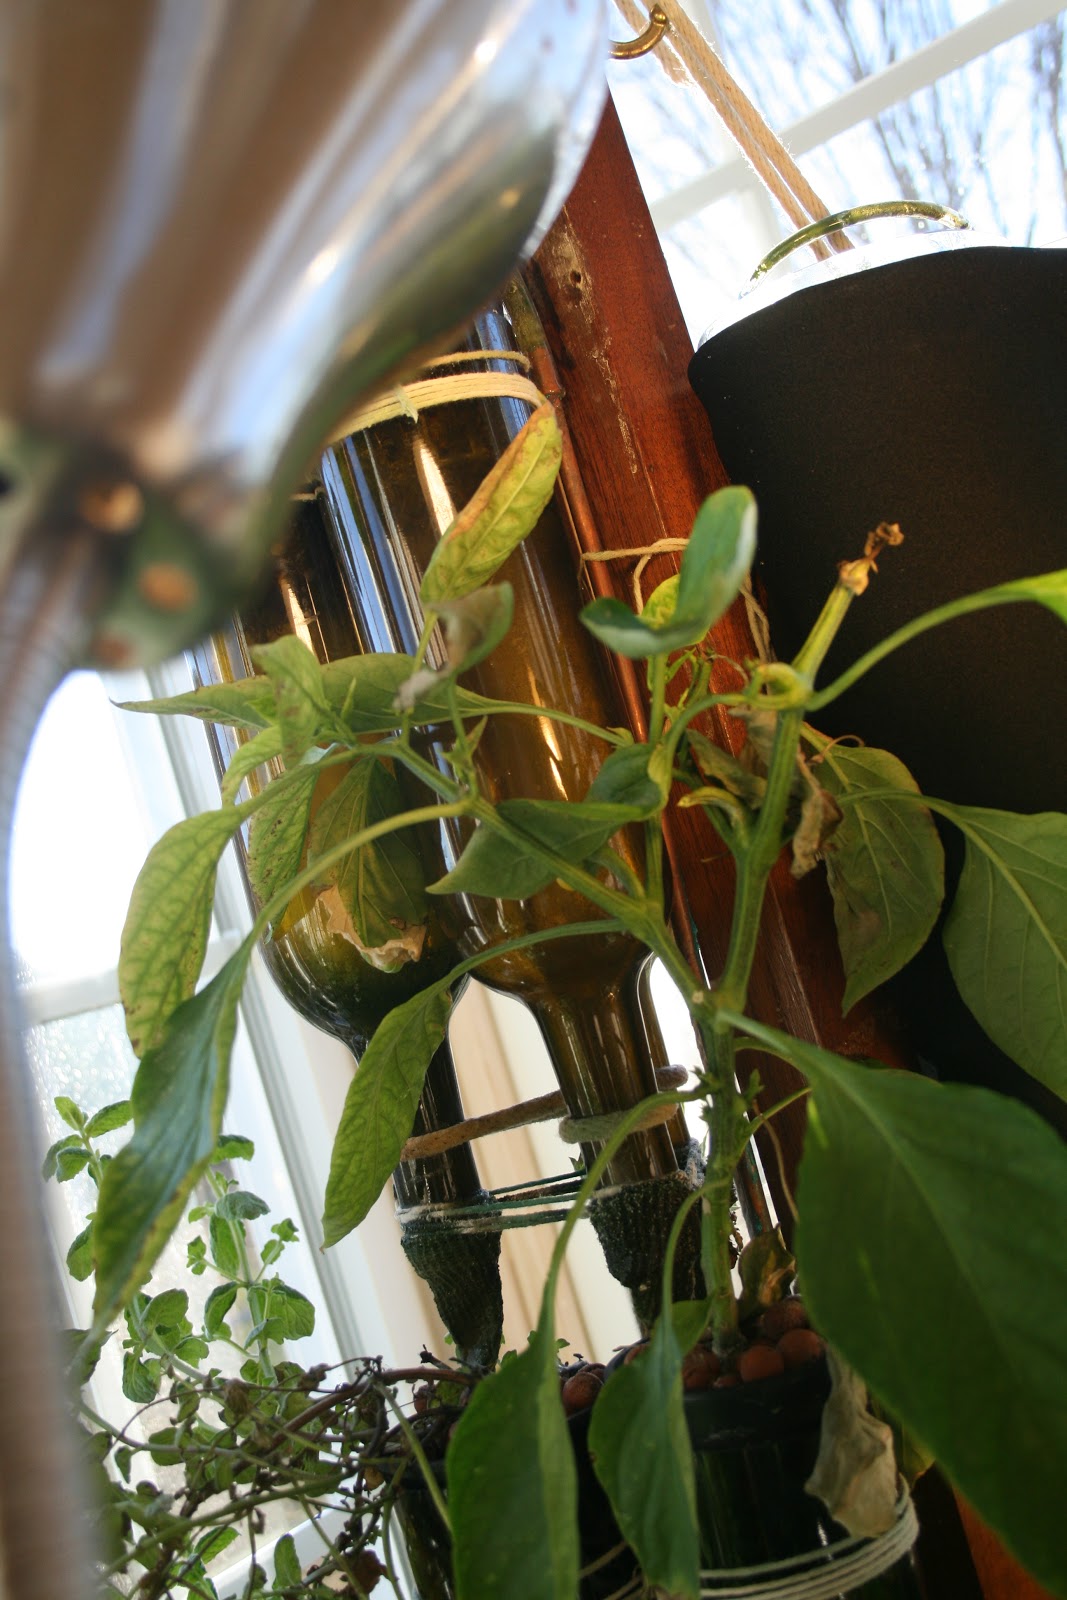
The last change in my design came in my suspension system. Rather than fixedly mounting the bottles in the tower, like my other farms, and previous designs. I thought to hang the bottles using S hooks, a pair on the bottle, and a pair attached to the suspension ropes. Around the bottle I tied simple nets that distribute the weight to the neck, but hang from the highest point, maintaining a low center of gravity. These are easily removed for any reason:


The final touches for this system will include the purely aesthetic addition of an endcap to cover the open elbow at the top, a potential horizontal carrying case for the bottles, and possibly switching to cheesecloth bags instead of net pots. We plan to plant possibly mint, stevia, and basil in the system, keeping them all relatively trimmed and small. Also, I was looking for some thoughts or recommendations on how to pump this system using DC power, like in a battery. I want this to be as self-contained, and function-anywhere as possible, so any recommendations would be much appreciated!