I have been quite preoccupied with other things the past couple of weeks, though in my spare time I have continued plugging away at small projects refining the garden nook. No great developments occurred, but there are a few relatively small refinements worth noting.
I suppose I can start at the top, literally and figuratively. I recently added a great deal of reflective film within my garden nook, effectively halving the volume of the nook, and significantly reducing the area of light absorbing surfaces proximal to the lamp. My primary reasoning behind this was that all of my plants were stretching, which can signify too little light. I covered many of the bottles at the same height as the light with film first. I unfortunately felt it necessary to block out the window, a substantial amount of light was pouring onto the sidewalk. Consequently, people walking by no longer can see in. And I finished the reflective film additions with lowering the 'ceiling' of the nook a little. The effect that all of this extra film had (aside from utilizing more light) was that it made it very hot and humid, particularly at the top. Unfortunately the lettuce in particular was getting droopy because of this. So I thought it would be a good idea to put in some ventilation. I was able to finagle a small fan on top of the tower, that sucks air from outside the nook in, and vents it out the bottom.
In this first picture, you can see how close the ceiling is to the top of the tower. As well as the fan, which isn't as blocked as it looks from this angle. And look at those lanky lettuces!

I also added more lighting within the nook. The first addition was this 'medusa' lamp with five heads. I have four ~20w CFLs in it, positioned as close as possible to the plants.

I have also been doing a lot of reading into lighting, and have learned a great deal about LEDs. My one continuing issue with them however is that manufacturers still seem to think the overhead fixture is an ideal lamp placement, and consequently replicate the design of fluorescent, or HID fixtures when designing LED fixtures. I think you could get substantially more benefit from spreading the diodes around the hydroponic installment. And since I don't really have time right now to construct my own ideal LED system, I thought that some LED light ropes may or may not have a benefit, and would be far more malleable in placement. In the nearish future, I hope to get my hands on a spectroscope to measure the wavelength and intensity of the rope light, as well as absorption of light by various leaves, to really gauge how beneficial (or not) it is.
It is plugged into the fifth lamp socket, and is strung across the top of the Penta.

And then hangs down in front of the tri towers, where I am hoping to attempt to train my new bean plants which are in the proximal planter sites to grow up the LED rope.

And this is the same scene where you can see foliage.

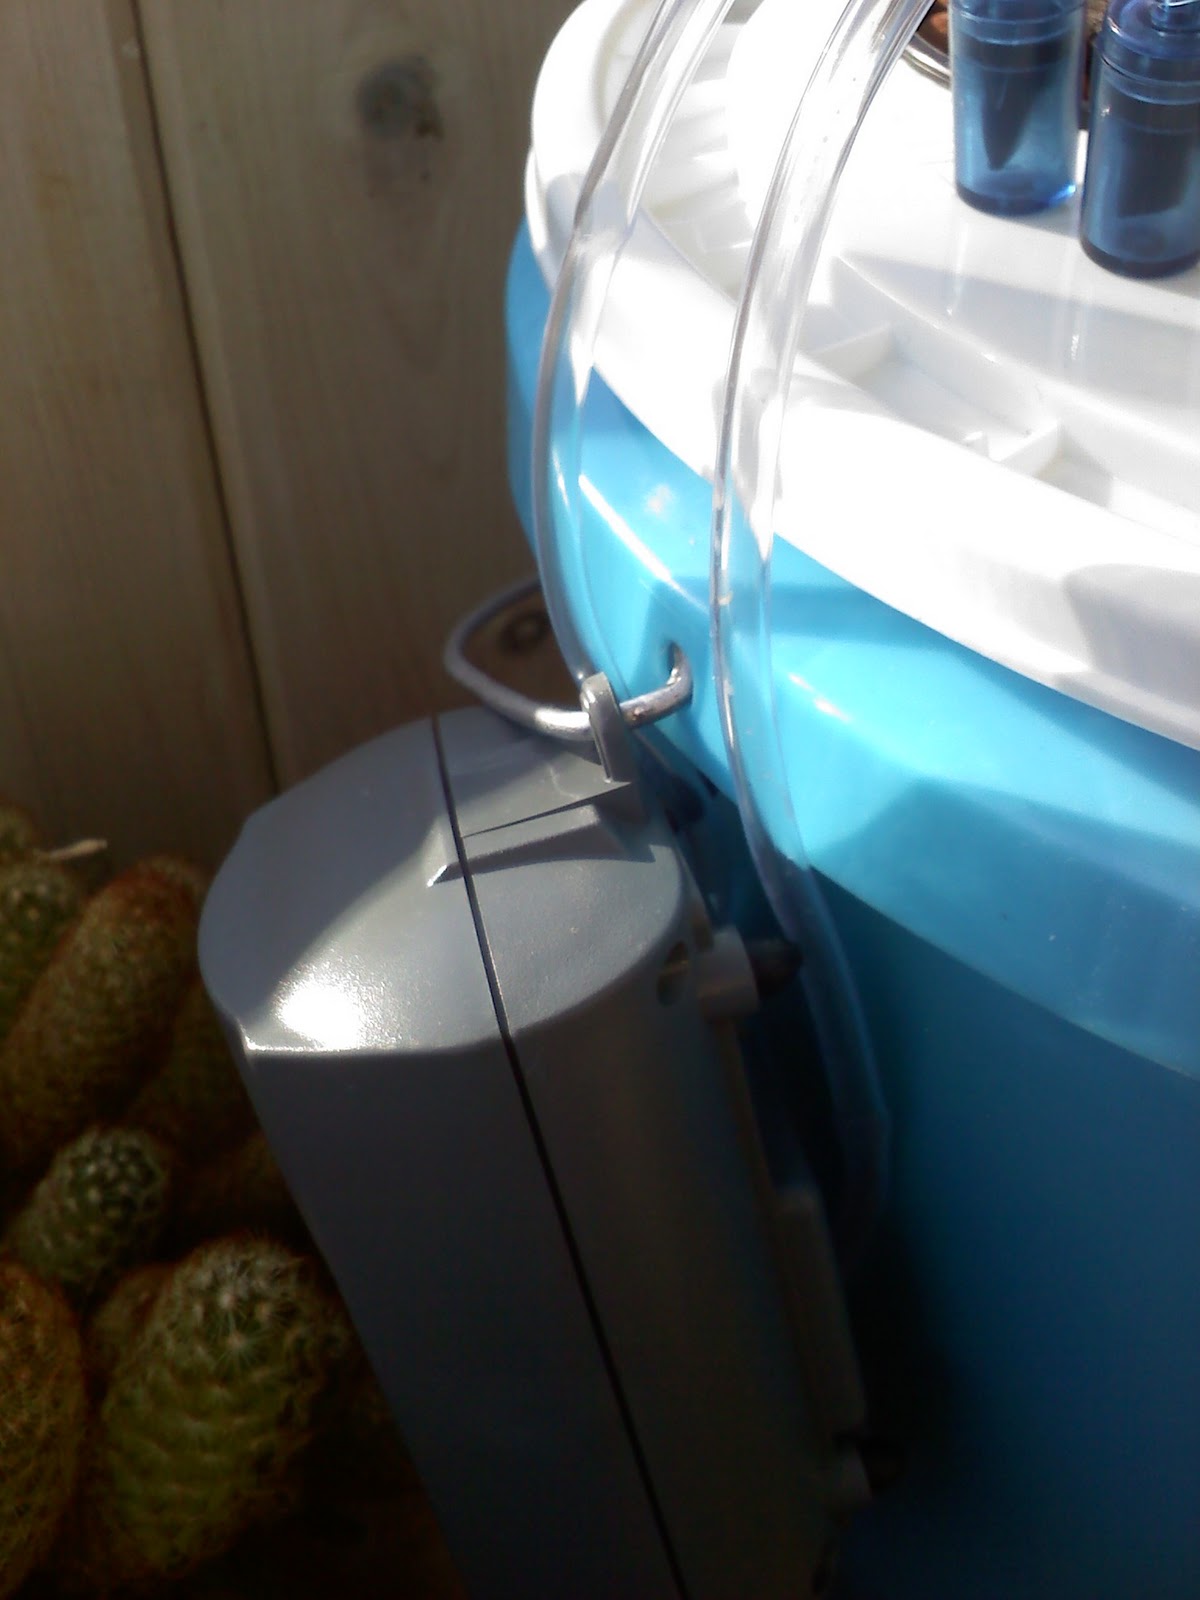
One huge development spurred out of me and my roommates frustration with how finicky the Penta system has been. At six feet, I think it was just at the cusp of functional for the air lift. Because of this, the slightest changes in the vertical tube, water level, or air pressure would stop it from pumping, and one of the columns rarely pumped at all. From the beginning I had thought trimming the height would be more ideal, but never did for some reason or another. Though a couple near droughts changed my opinion on that. The issue in doing this is that we could not lower the tower, because the construction would require removal of all of the bottles, which are now carrying plants that have been trained up the ropes. I had acquired a milk crate recently for another purpose, but my roommate made the astute observation that it was about the exact height we needed to remove from the Penta, and that it would support the weight of the reservoir. So in a fury of work, we removed the reservoir and lift tube, cut 10 3/4" off the bottom of the tube, changed out the nutrient solution, and reassembled the system on top of a milk crate. And for the past two days, all five columns have been sufficiently moist, top to bottom. This has the added benefit of moving the FC plants closer to the light source. I plan to add some reflective film to cover the reservoir and milk crate in the near future.

And lastly I have a couple of different angles of shots from the floor looking up at the towers which I think captures all of the plants. Unfortunately (from a photo standpoint anyway) everything is getting so dense and overlapping it is hard to get decent pictures head-on.


And a piece of bad news, my portable tower has found the disadvantages of glass construction. I stupidly put it on top of a milk crate, and it being unstable to begin with, fell over at some point, killing the plants I had growing, and spilling glass, water, and hydroton everywhere. I fortunately have more bottles and will just be replacing the two broken ones.